 I started this in (August part 1).(here's August step 2) (Here's where I left off on the portrait from session 3). The lighting is way too warm. Partly from the lighting in my studio then (at night, incandescent bulbs) Now I have new color correct fluorescent lighting.
 I needed to lighten the background and decide on the final color. After changing the background color (again) I started working on my son-in law's face.
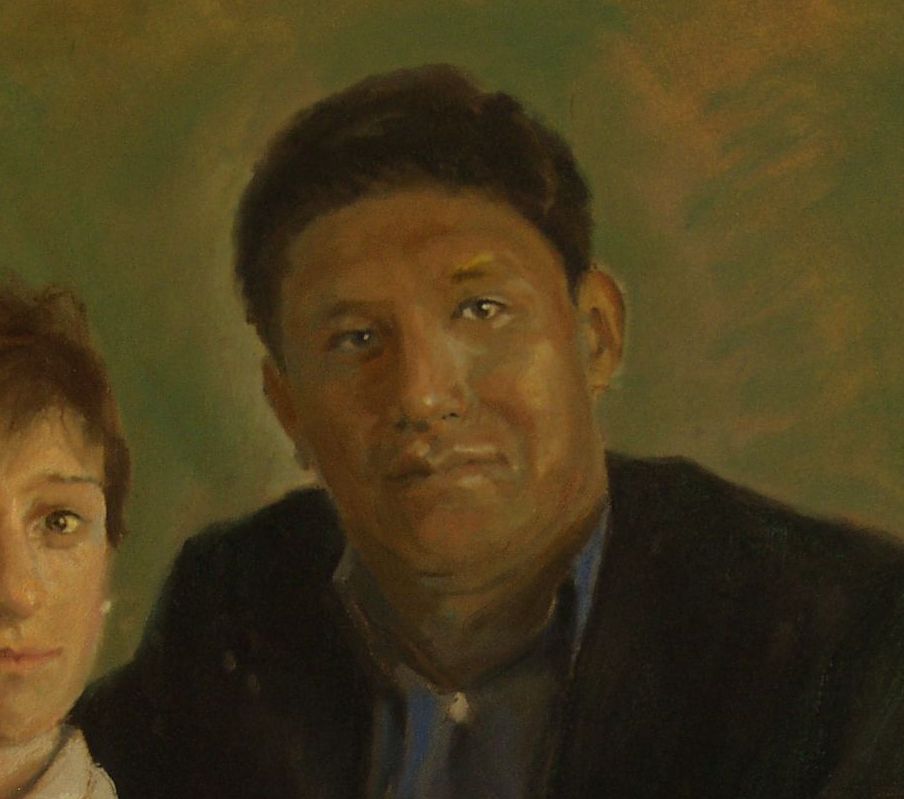
I still have a lot of work to do, but I thought I would share my baby steps in the process.
1 comment:
Ooh looking good! And you caught his eyes too - quite a feat if I might say so. I'm loving it!
Post a Comment